
Anyway, today we will look at adding lights to my side locker.

I bought the led lights a few days before they came around and upgraded the shop lights in my bay. Sure I can see into the locker but its dark in the back half of the shelves. The closest thing I have to "cat like" vision is when last week I accidentally stepped on the cat in a low lit room. In my defense, Olivers cat like reactions are getting pretty dim as well.

The kit is 13 feet of adhesive led tape, a power supply and on/off/dimmer switch. I also added a proximity sensor so the lights will come on when the door is opened.

I wanted the lights to illuminate all shelves and to get the led tape across the bottom I decided to add a piece of steel that the lights can hide in as they cross the bottom shelf. I've seen videos of tool boxes where guys have added these lights and it looks like shit when you can actually see the light or if its shining back into your face.

A little modifying was necessary to allow clearance for the lights where they pass the shelves.

I should have taken the above pic with the led's off. Its just showing the clearance between the shelf bracket and shelf.


That little black plastic angle piece on the door passes under the proximity sensor when the door is closed and that shuts off the lights.

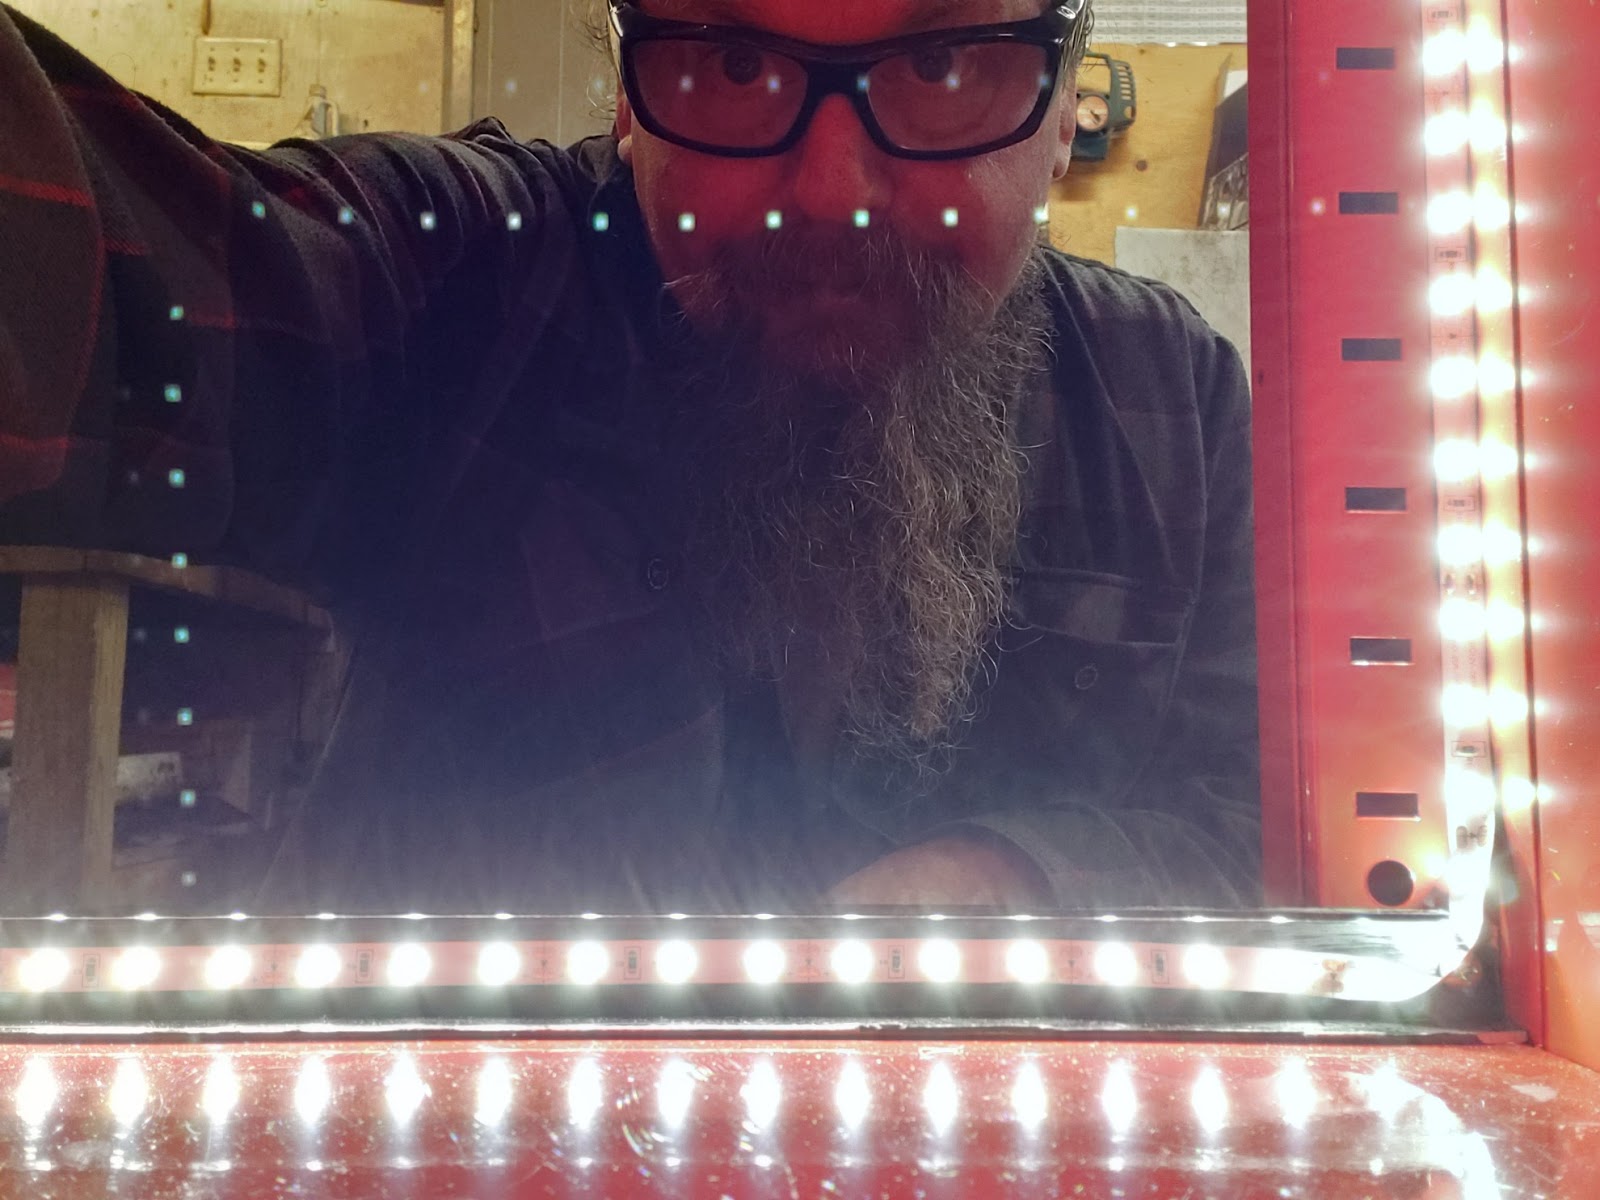
The end result looks pretty good. There is reflection from the lights but you can't actually see any of them. I suppose I could add a matt finish to the walls to reduce glare or just wait till I have more stuff in there. I post a lot of projects on this blog and this simple job is one of my favorites. Not because there was a lot of thought or difficulty involved but because I feel the end result far exceeded my expectations. Clean, simple, big results, plus I'm a sucker for bright lights, shiny stuff and gadgets.
The other half of this project was adding a power strip to the back of the hutch. Its needed for the locker lights and future additions to the box. The pure genius in this purchase was ordering a snack on Amazon along with the power strip. This way when I opened the box of parts at the shop I also had some wasabi nuts to munch on. This will be a practice I plan to continue in future purchases.

The wire coming out of the locker is for the lights I just installed. In this shot you can see the 26 is sitting on the slide out shelf I built in last weeks blog.

The fact that the hutch isn't as deep as the bottom chest is ok. If I park this rig against a wall the power strip is recessed enough that the plugs won't interfere or get crushed.
I took some video footage during this session of another little project. I've only done video editing a few times and I'm not sure how this will turn out or even if I'll get it done before Wednesday but stay tuned for my attempt at vlogging.
Later.
Nice job Scott, but you should have used multicolored lights. Then at Christmas, you would'nt have to decorate a tree! Jon
ReplyDeleteLol! I'll remember that if I add any more light to the tool box.
ReplyDeleteThose look great! Nice!
ReplyDeleteThanks. I like them so much I'm thinking of building another cabinet just to use them again!
Delete