

This is the space I'm working with and the three pieces of angle cut to size.

Before welding the pieces together I decided to tap the sides to accept the slide rails.

This is a test fit. You may notice the right side isn't flush with the locker. That piece of chrome trim on the 72 hinders slide operation so I had to move this shelf project to the left a bit. I could have easily modified that trim but this actually works in my favor as you'll see in a future post.

To keep the shelf from tipping forward I added these two straps on the back side. Relying on the weight of the 26 to hold the shelf in place seemed like a bad idea. The above pic is also shows the added depth of the new tool boxes compared to the hutch. That wasted space behind the hutch won't be a waste at all and fits into my plan nicely as you'll see in a future post. Oh I bet you're just sitting on the edge of your seat waiting to see what happens.

After painting the newly made shelf bracket I attached the slide rails. The red paint is left over from the hutch project so at least I know I'm not adding a third shade of red to the ensemble.

I had originally planned to just use a cheap hunk of pressed board with a piece of shower stall plastic as a top. My boss is an experienced wood worker and I suck at it. When I asked him for advice he offered me a piece of counter top that had been occupying the corner of his shed for five years. Its double thick 3/4" so there would be just, and I mean just, enough room to squeeze it in there. I had some options on how deep to cut the counter top but the width had to be exact. I was close but initially cut it one blade width too big. That little battery powered Makita saw works so sweet and made that second cut a breeze, even for a hack like me.
This is what it looks like before mounting the 26. You can see that the counter top couldn't be any thicker and that I had to leave a gap on the right side next to the locker.

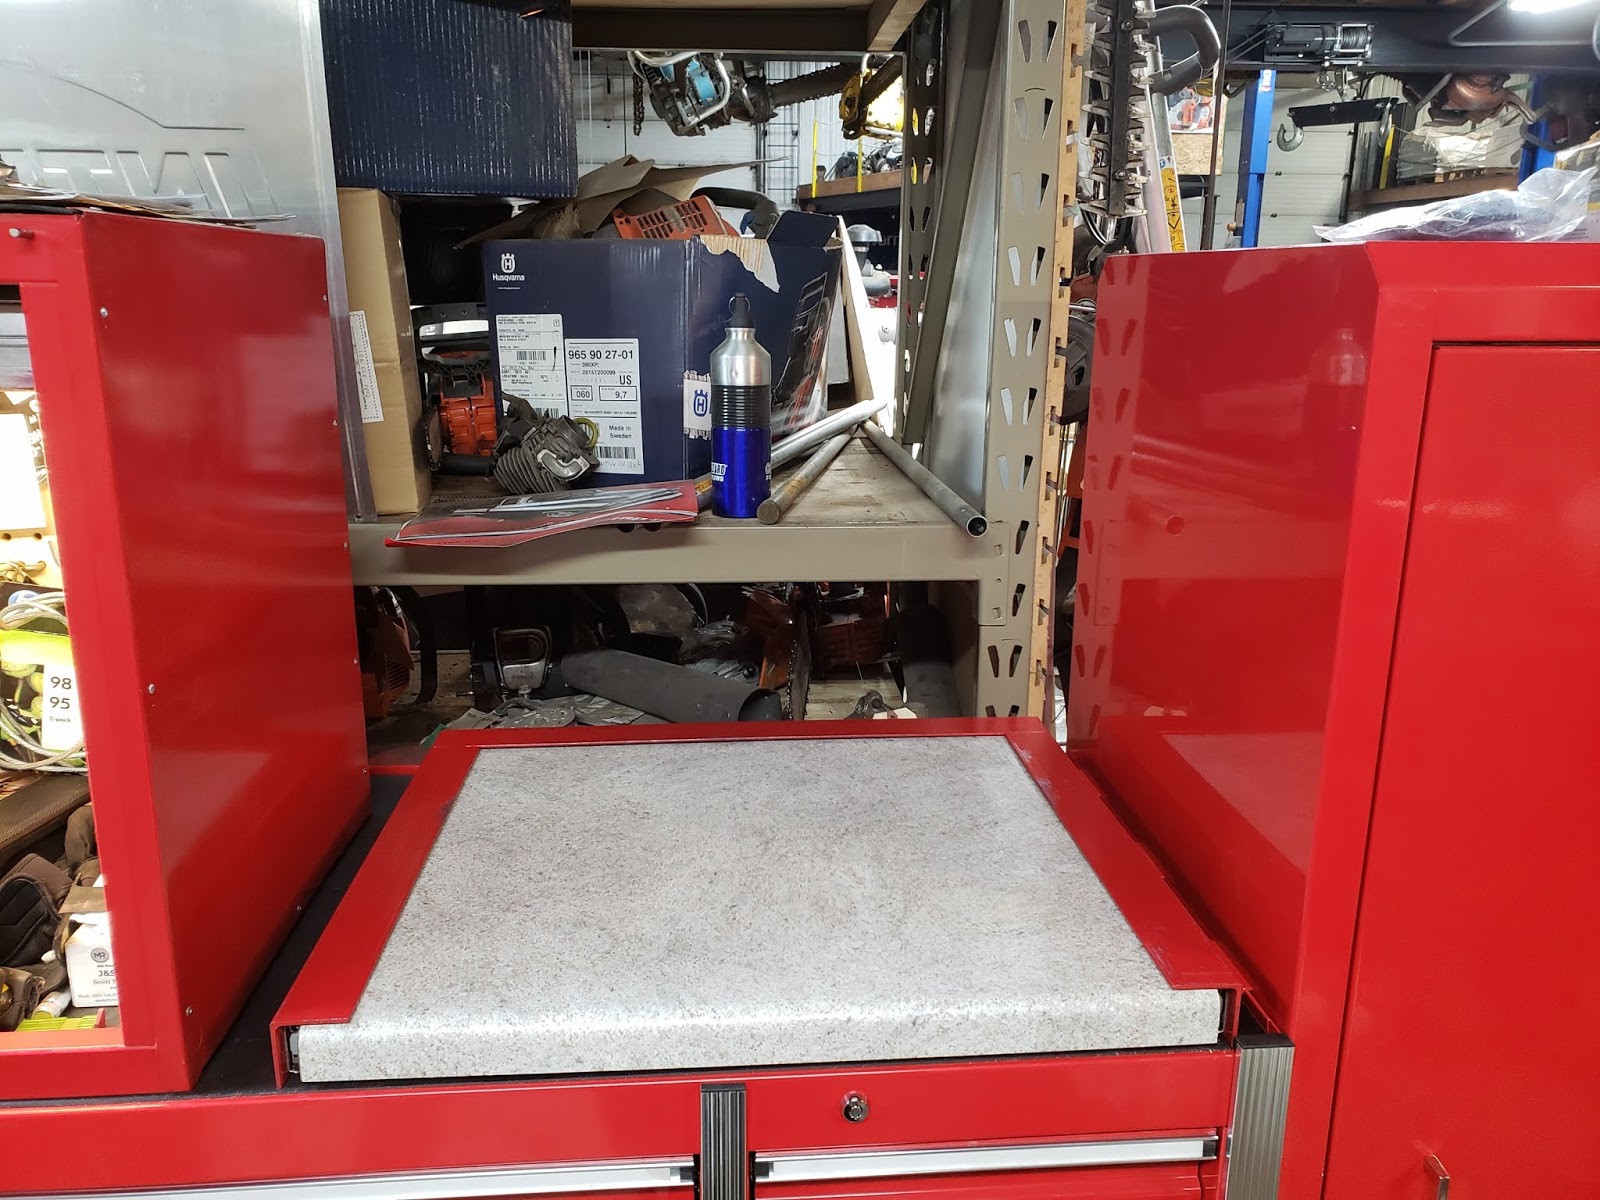
Here is the completed shelf. I finished work at noon and by 4pm my wife had called wondering how late I would be. I told her I needed about half an hour yet. Four and a half hours putzing on this project isn't bad considering the only real "plan" I had was that I planned on doing it. In fact in my head the angle iron was flipped the other way. I now have a 20" deep by 24" wide table top surface that I know will get a lot of use. The slides I chose are rated at 100 pounds and seem sturdy enough. I still have to add a strap or handle to open it but haven't decided on a design yet.

This is how it looks when everything is closed and locked up. I like that the tops are flush and I don't think I'm bothered by the different color of the counter top although I reserve the right to change that in the future.
Stay tuned for more tool box mods.
Later.
Careful or you might just spend your days admiring your toolbox and not get any work done. Looks good tho.
ReplyDeleteThanks. I'm just trying to fine tune it for my needs without making it look like crap.
ReplyDelete